


From Manual to Automated: Distribute your Eclipse RCP Application with Equo
Sebastian Sampaoli on July 10th 2023
If you want to distribute an Eclipse RCP application, a series of manual steps must be carried out with its P2 repository to obtain a compressed file or an installer, and consequently send it to your users. The packaging, building, and distribution of Eclipse RCP applications is not straightforward, since it requires great effort and technical knowledge.
Equo provides the infrastructure to automate the whole distribution workflow of Eclipse RCP applications: from auto-generated web-based installers for Windows, macOS, and Linux, to live application updates, analytics, logging, crash reporting, and CI/CD.
Distributing Eclipse RCP applications with Equo: A Step-by-Step Guide
In this tutorial, we will show you how easy it is to create web-based cross-platform installers for your Eclipse RCP application and distribute them with Equo. If you are not already an Equo user, go ahead and sign up for free first.
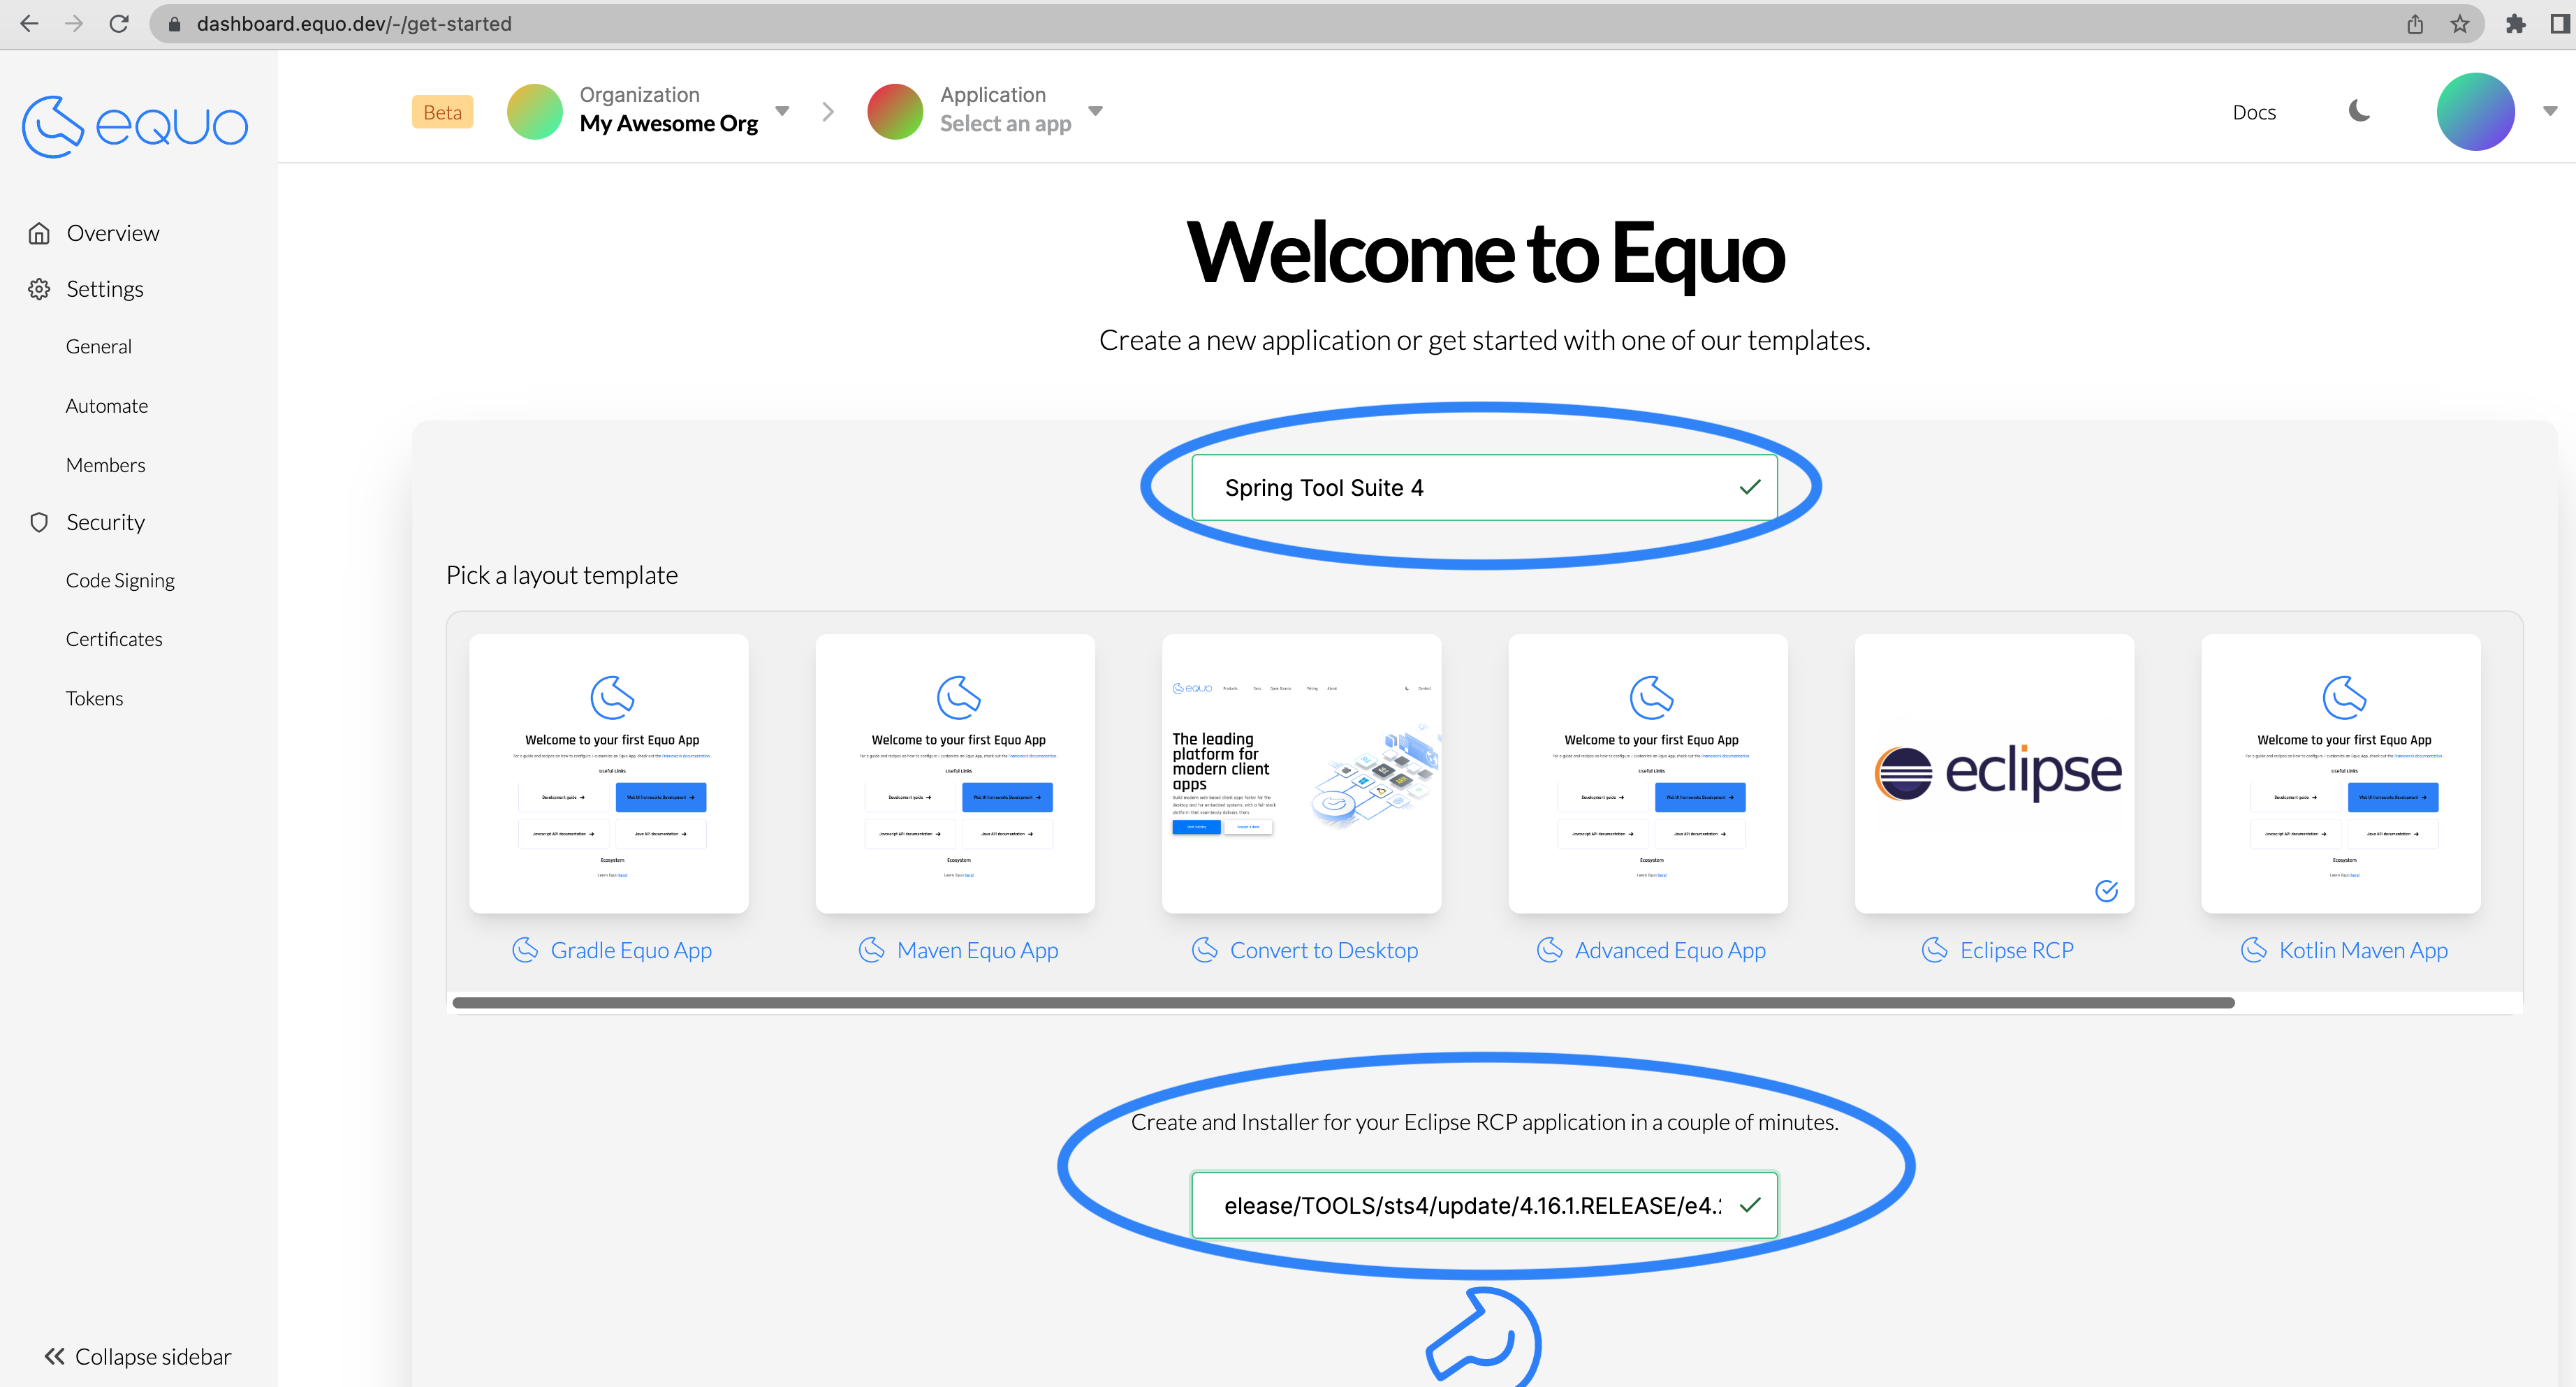
For this tutorial, we will use the Spring Tool Suite 4 application. We will generate cross-platform installers from its P2 repository (https://download.springsource.com/release/TOOLS/sts4/update/4.16.1.RELEASE/e4.26), and we will see how it can be easily distributed via a landing page as well.
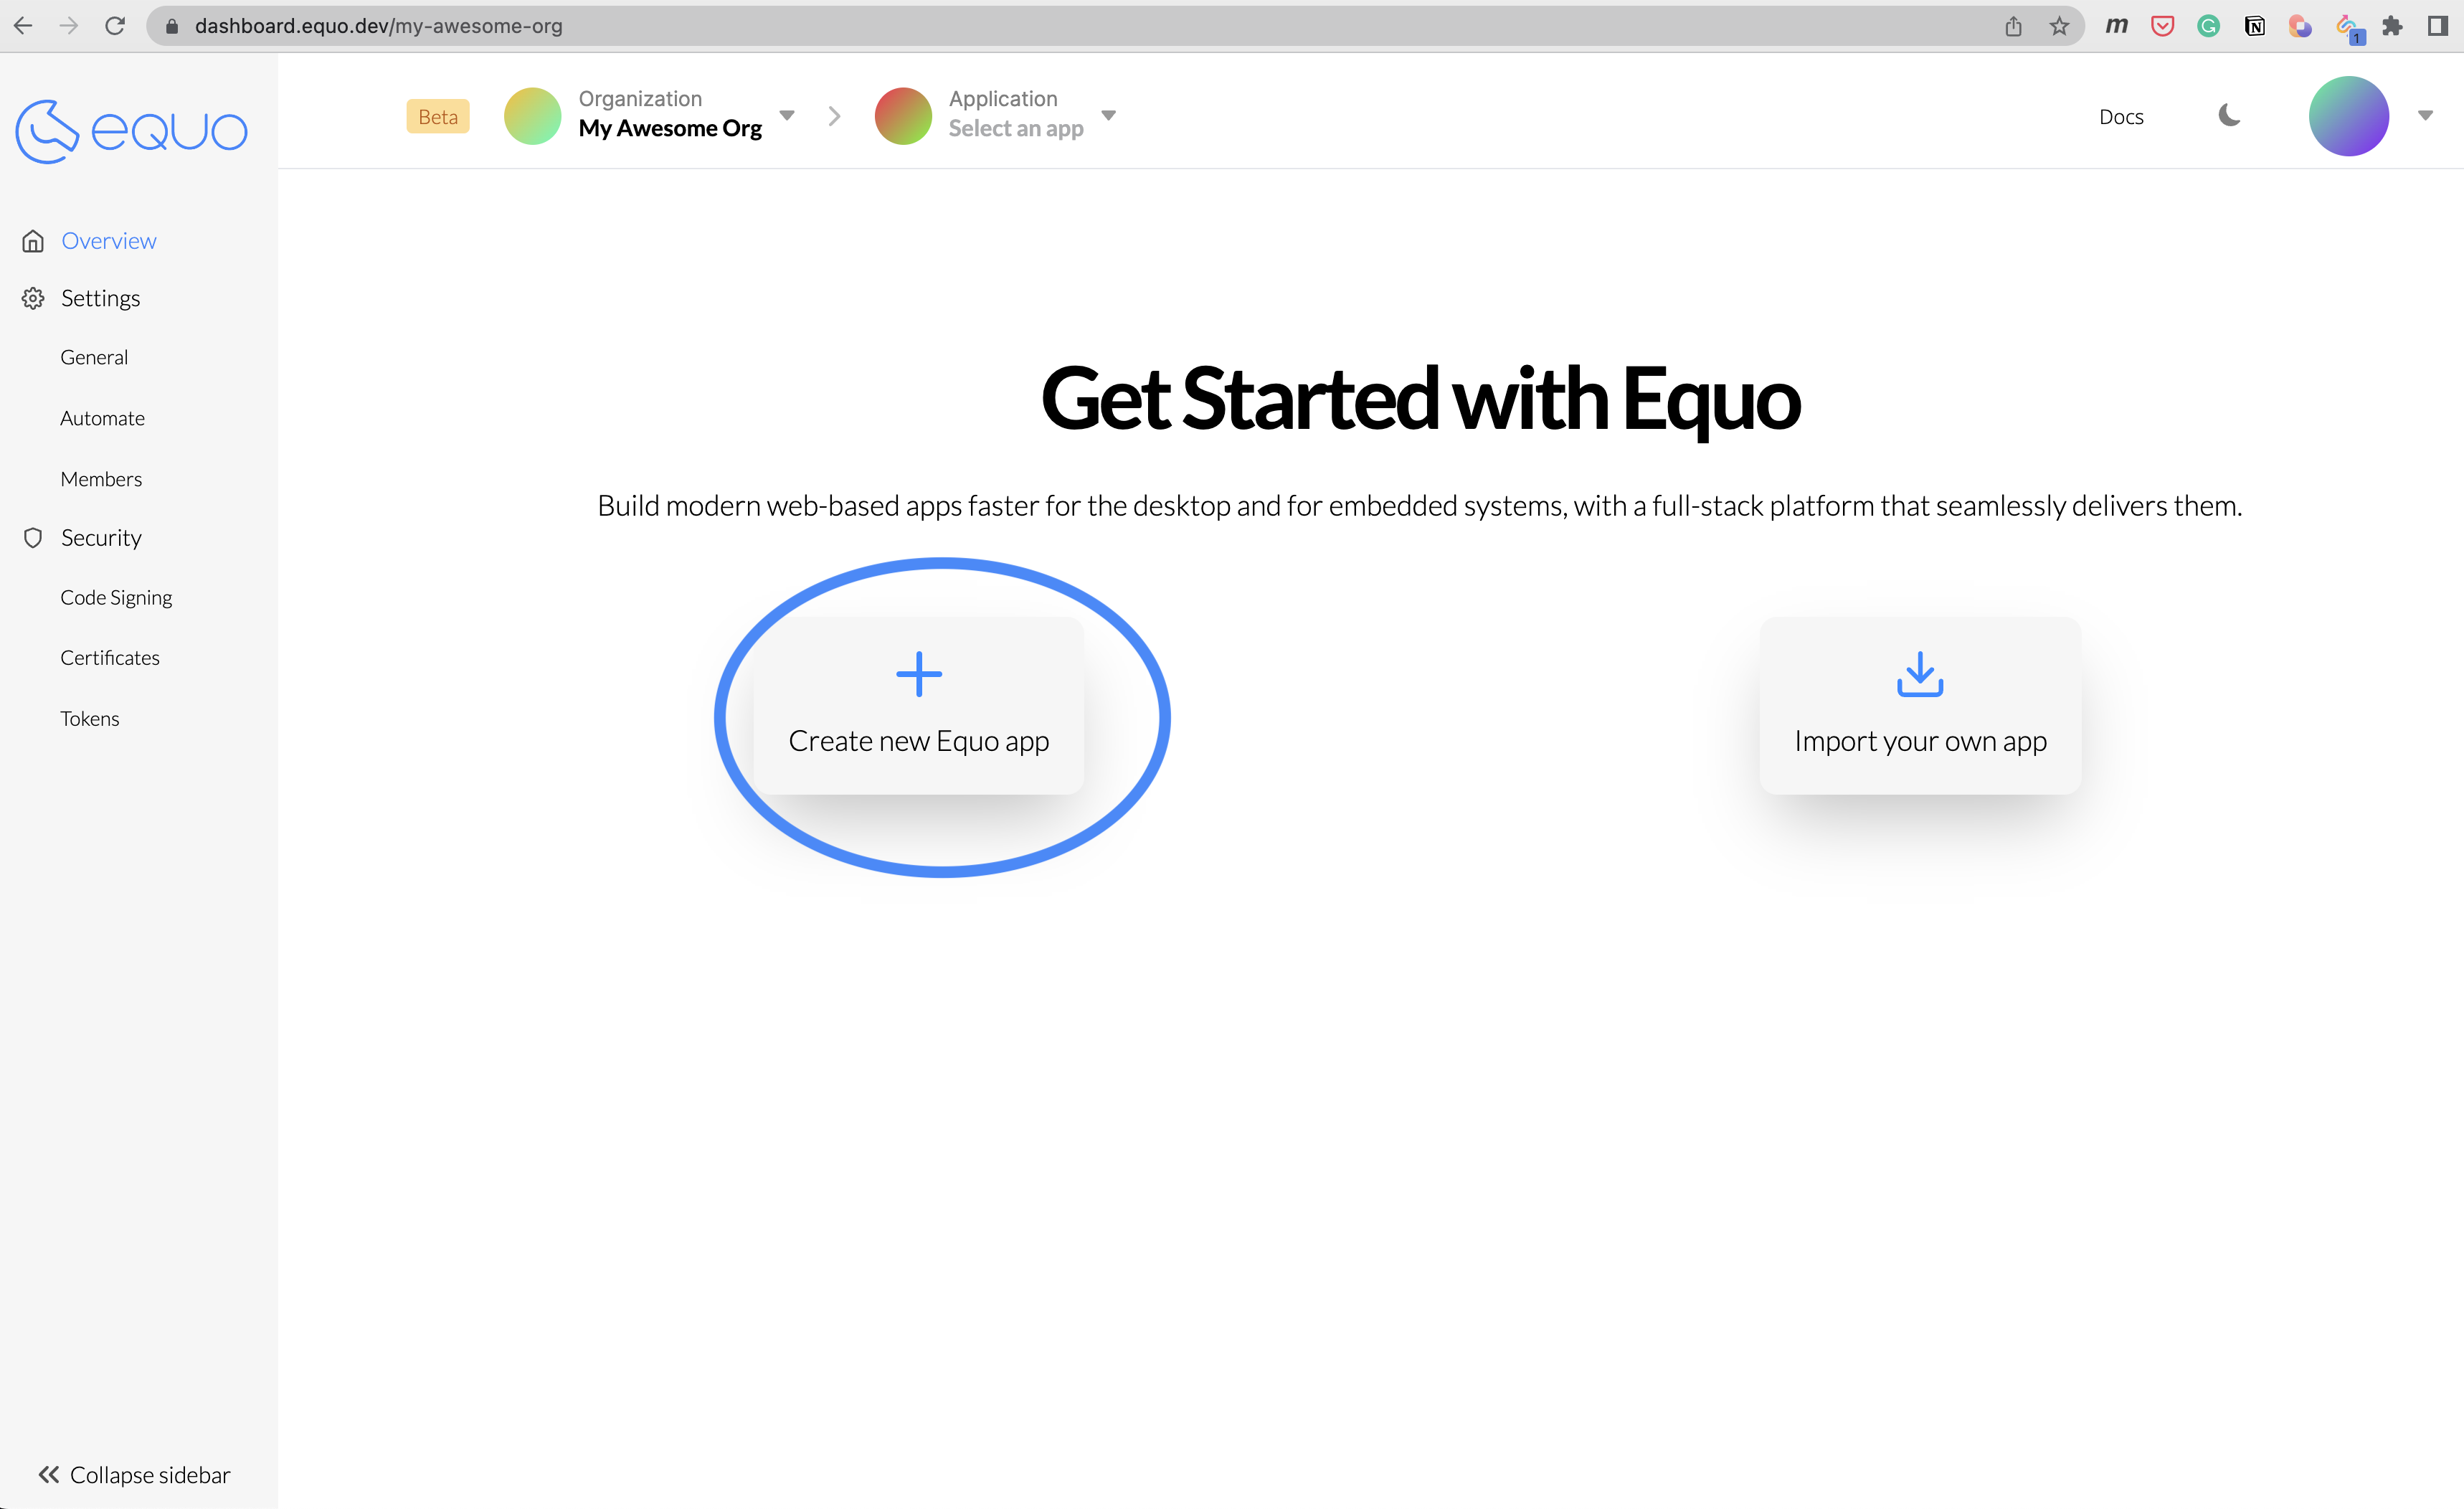
Step 1: Create your new application
Creating a new application on Equo is simple. Once you've logged in, you'll be taken to https://dashboard.equo.dev. If you're just starting, click the Create new Equo app button below.
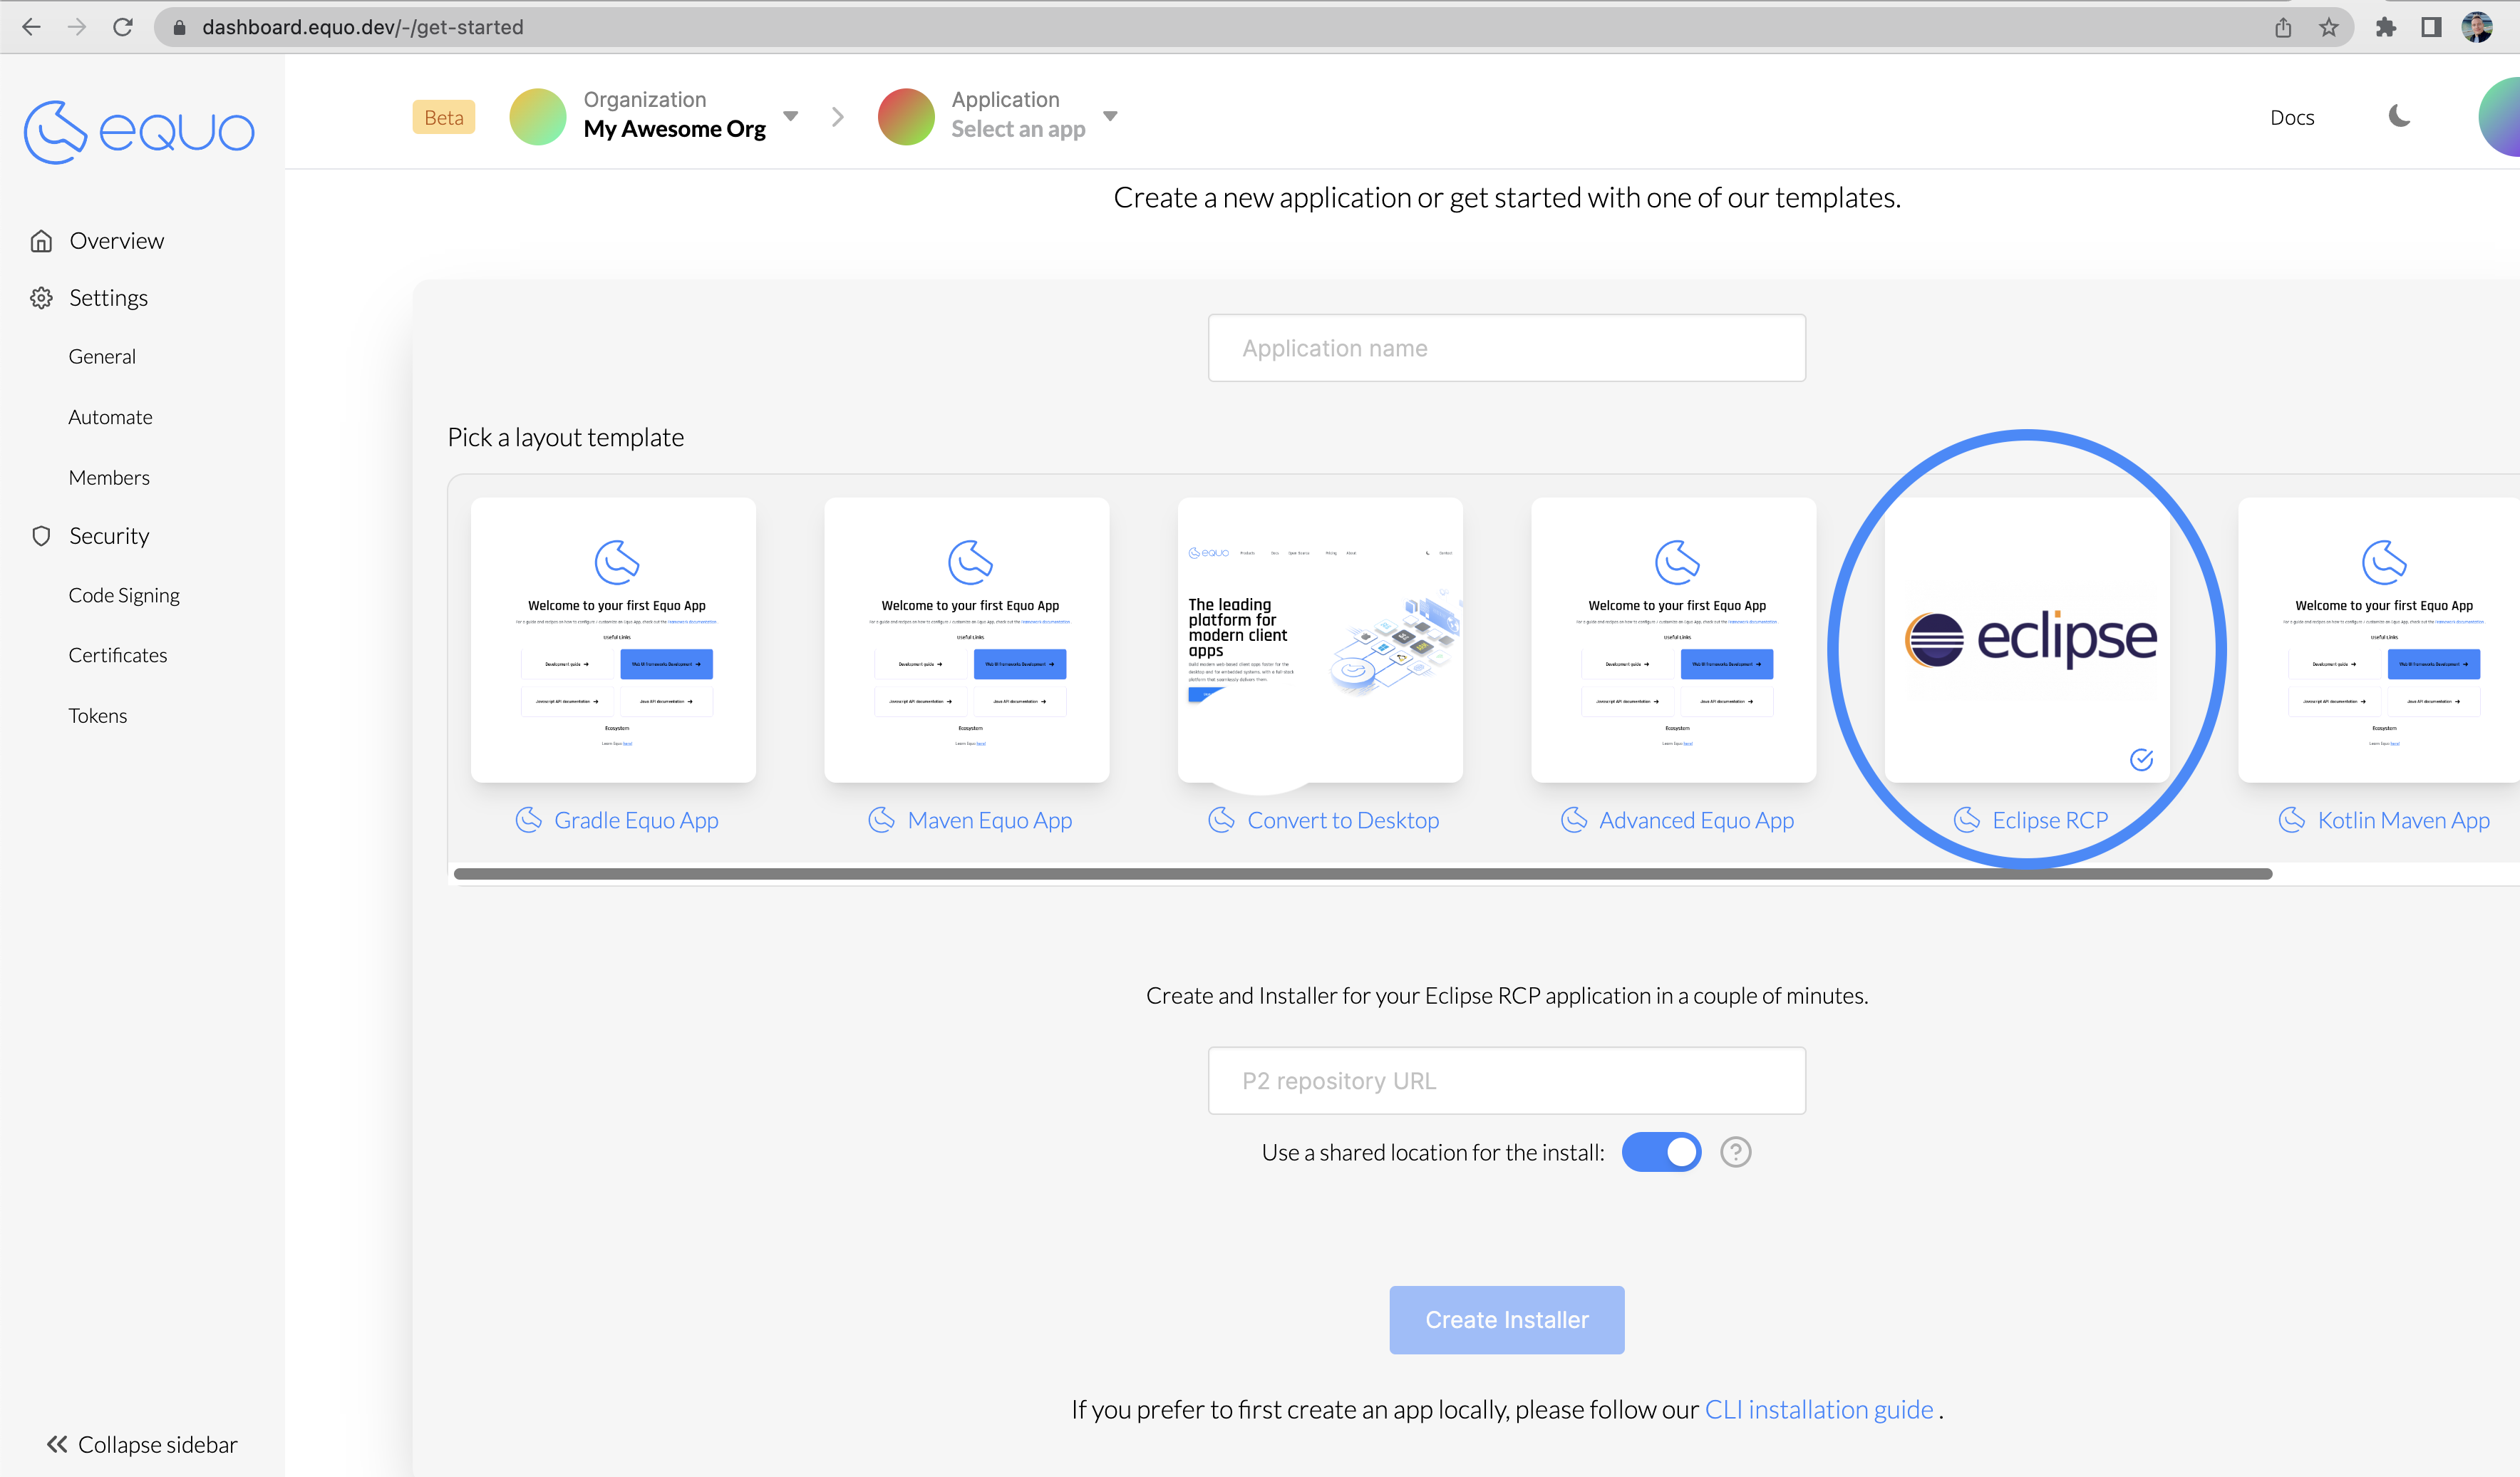
Step 2: Select the Eclipse RCP application type
After you've clicked on the Create new Equo app button, you have to pick an application type. In this case, select the Eclipse RCP application type.
Step 3: Insert your Eclipse RCP application information
Once you selected the Eclipse RCP application type, you have to insert the Application Name, and the P2 repository URL of your application, as shown in the image below. When you insert the P2 repository URL, it will start gathering the application metadata, which is needed to generate the installers.
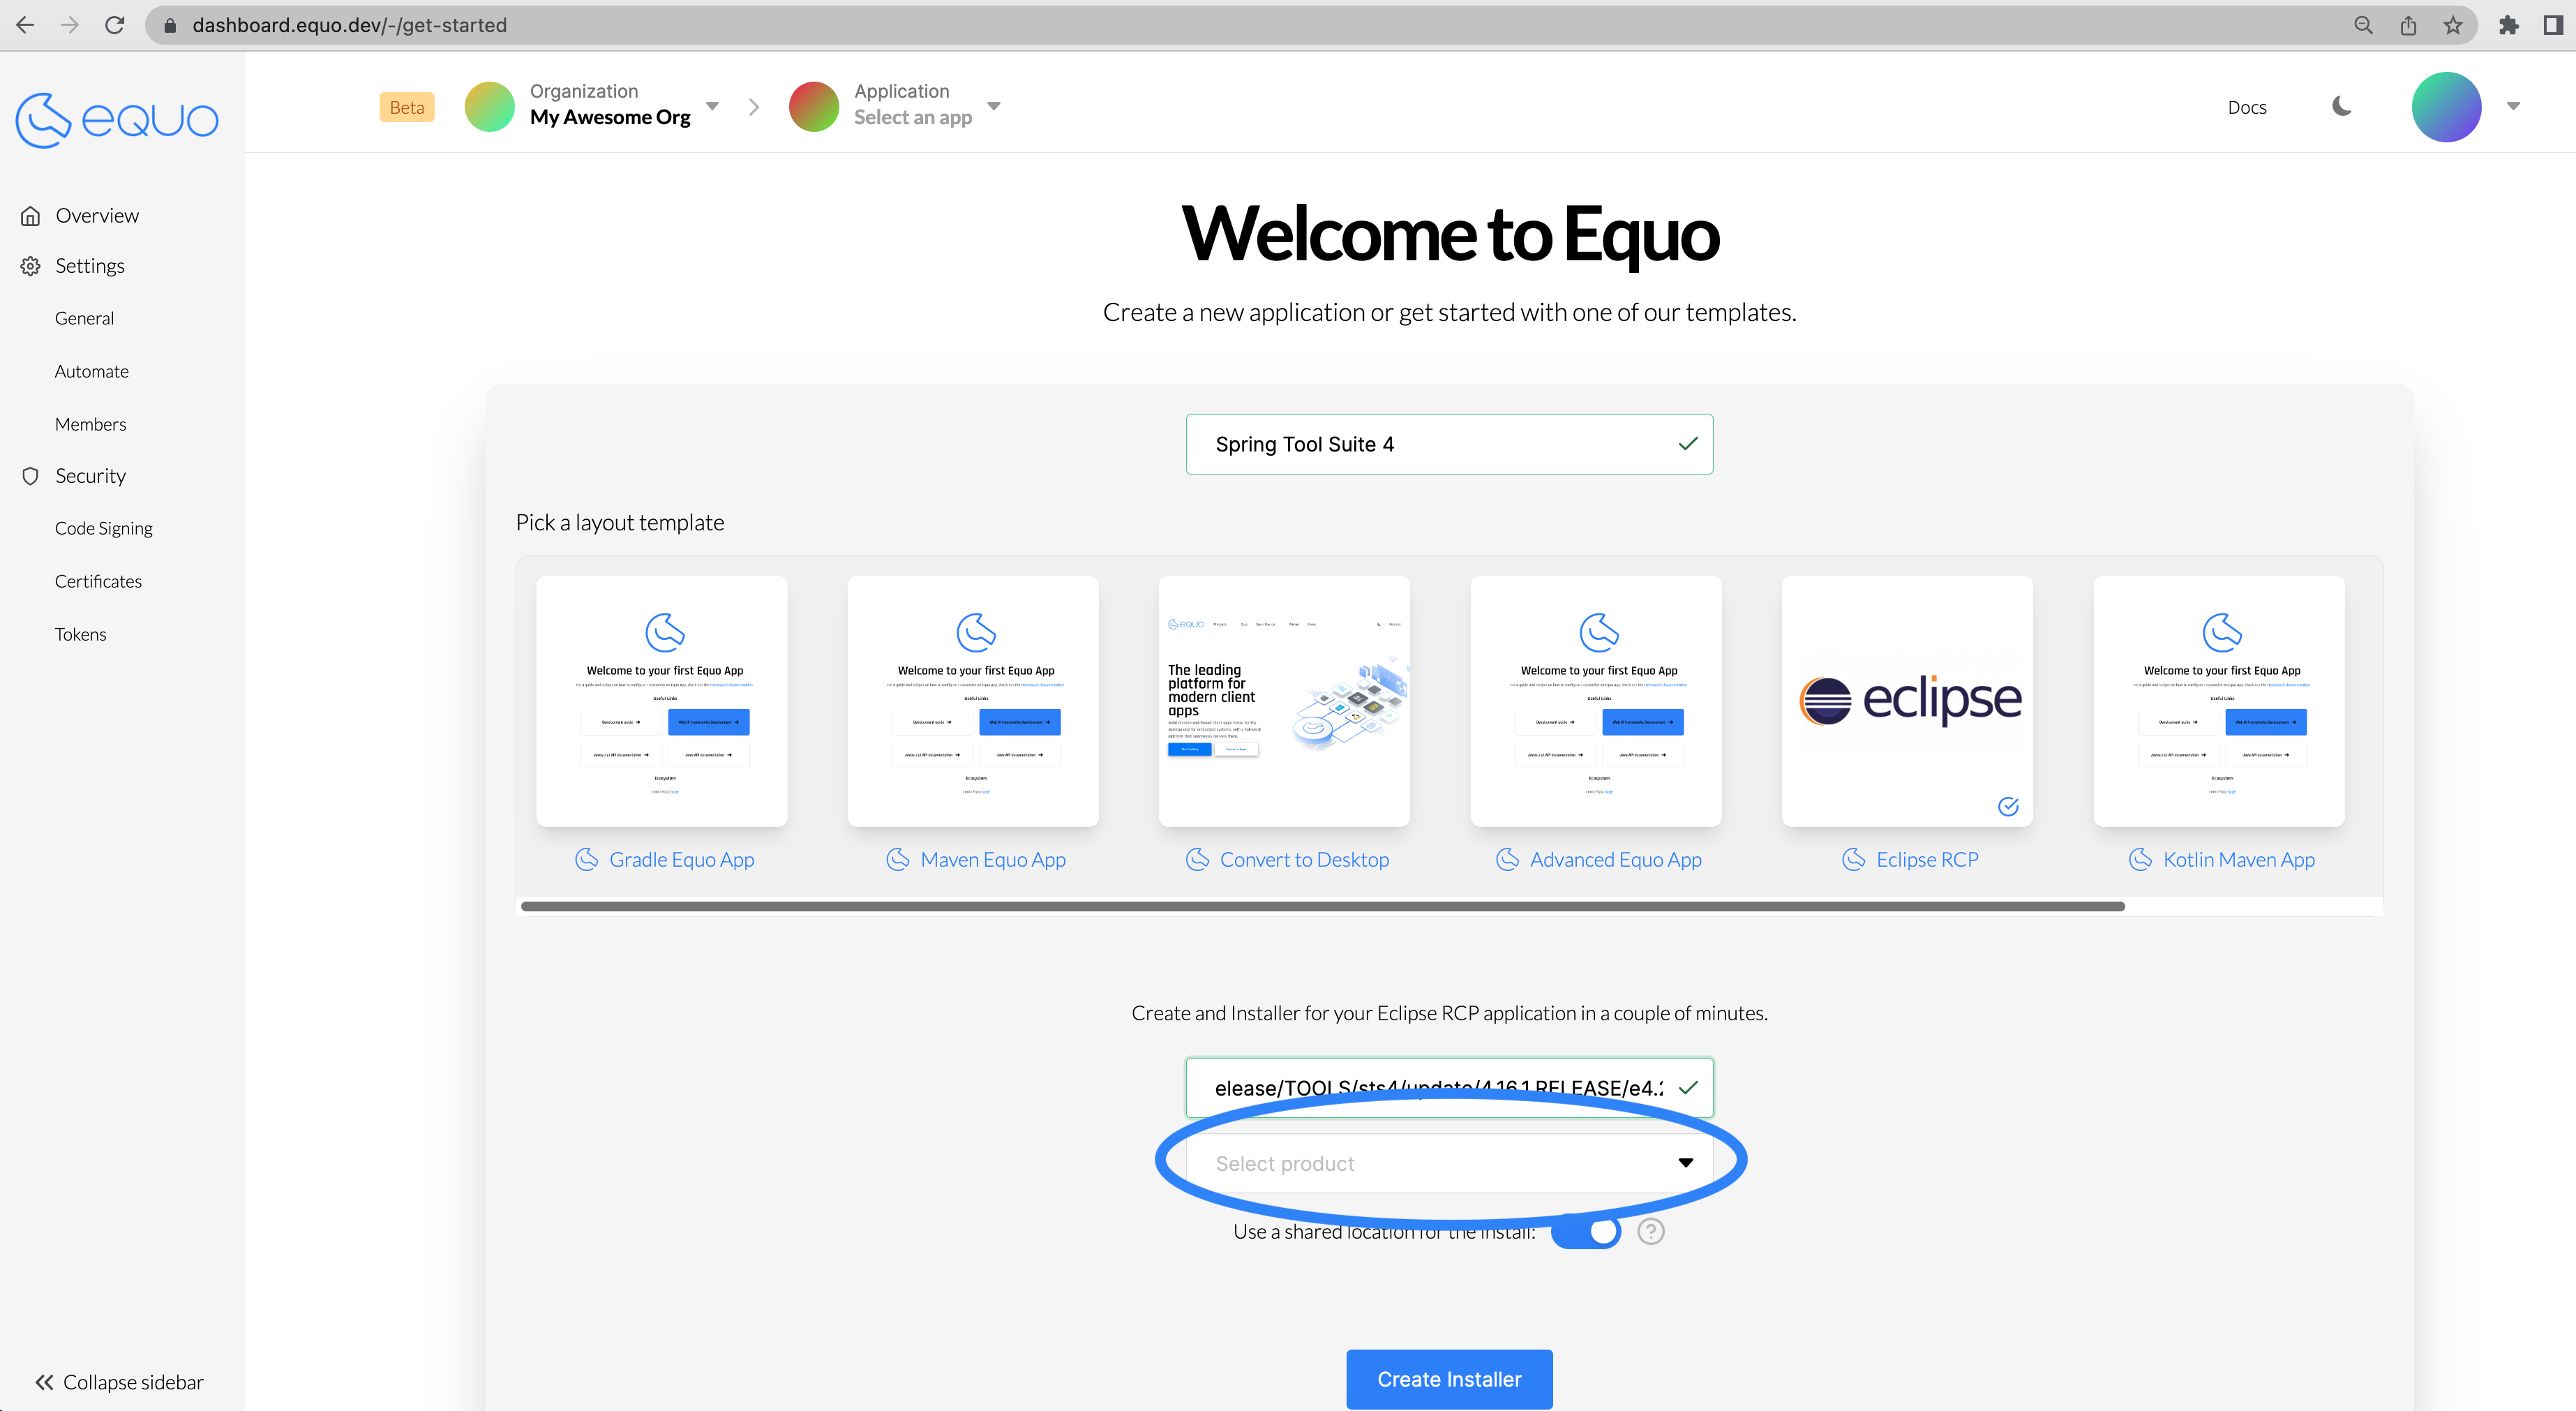
After some seconds, all the application information and metadata are gathered, and a new widget shows up that allows you to select the Eclipse RCP product. See the images below for more details.
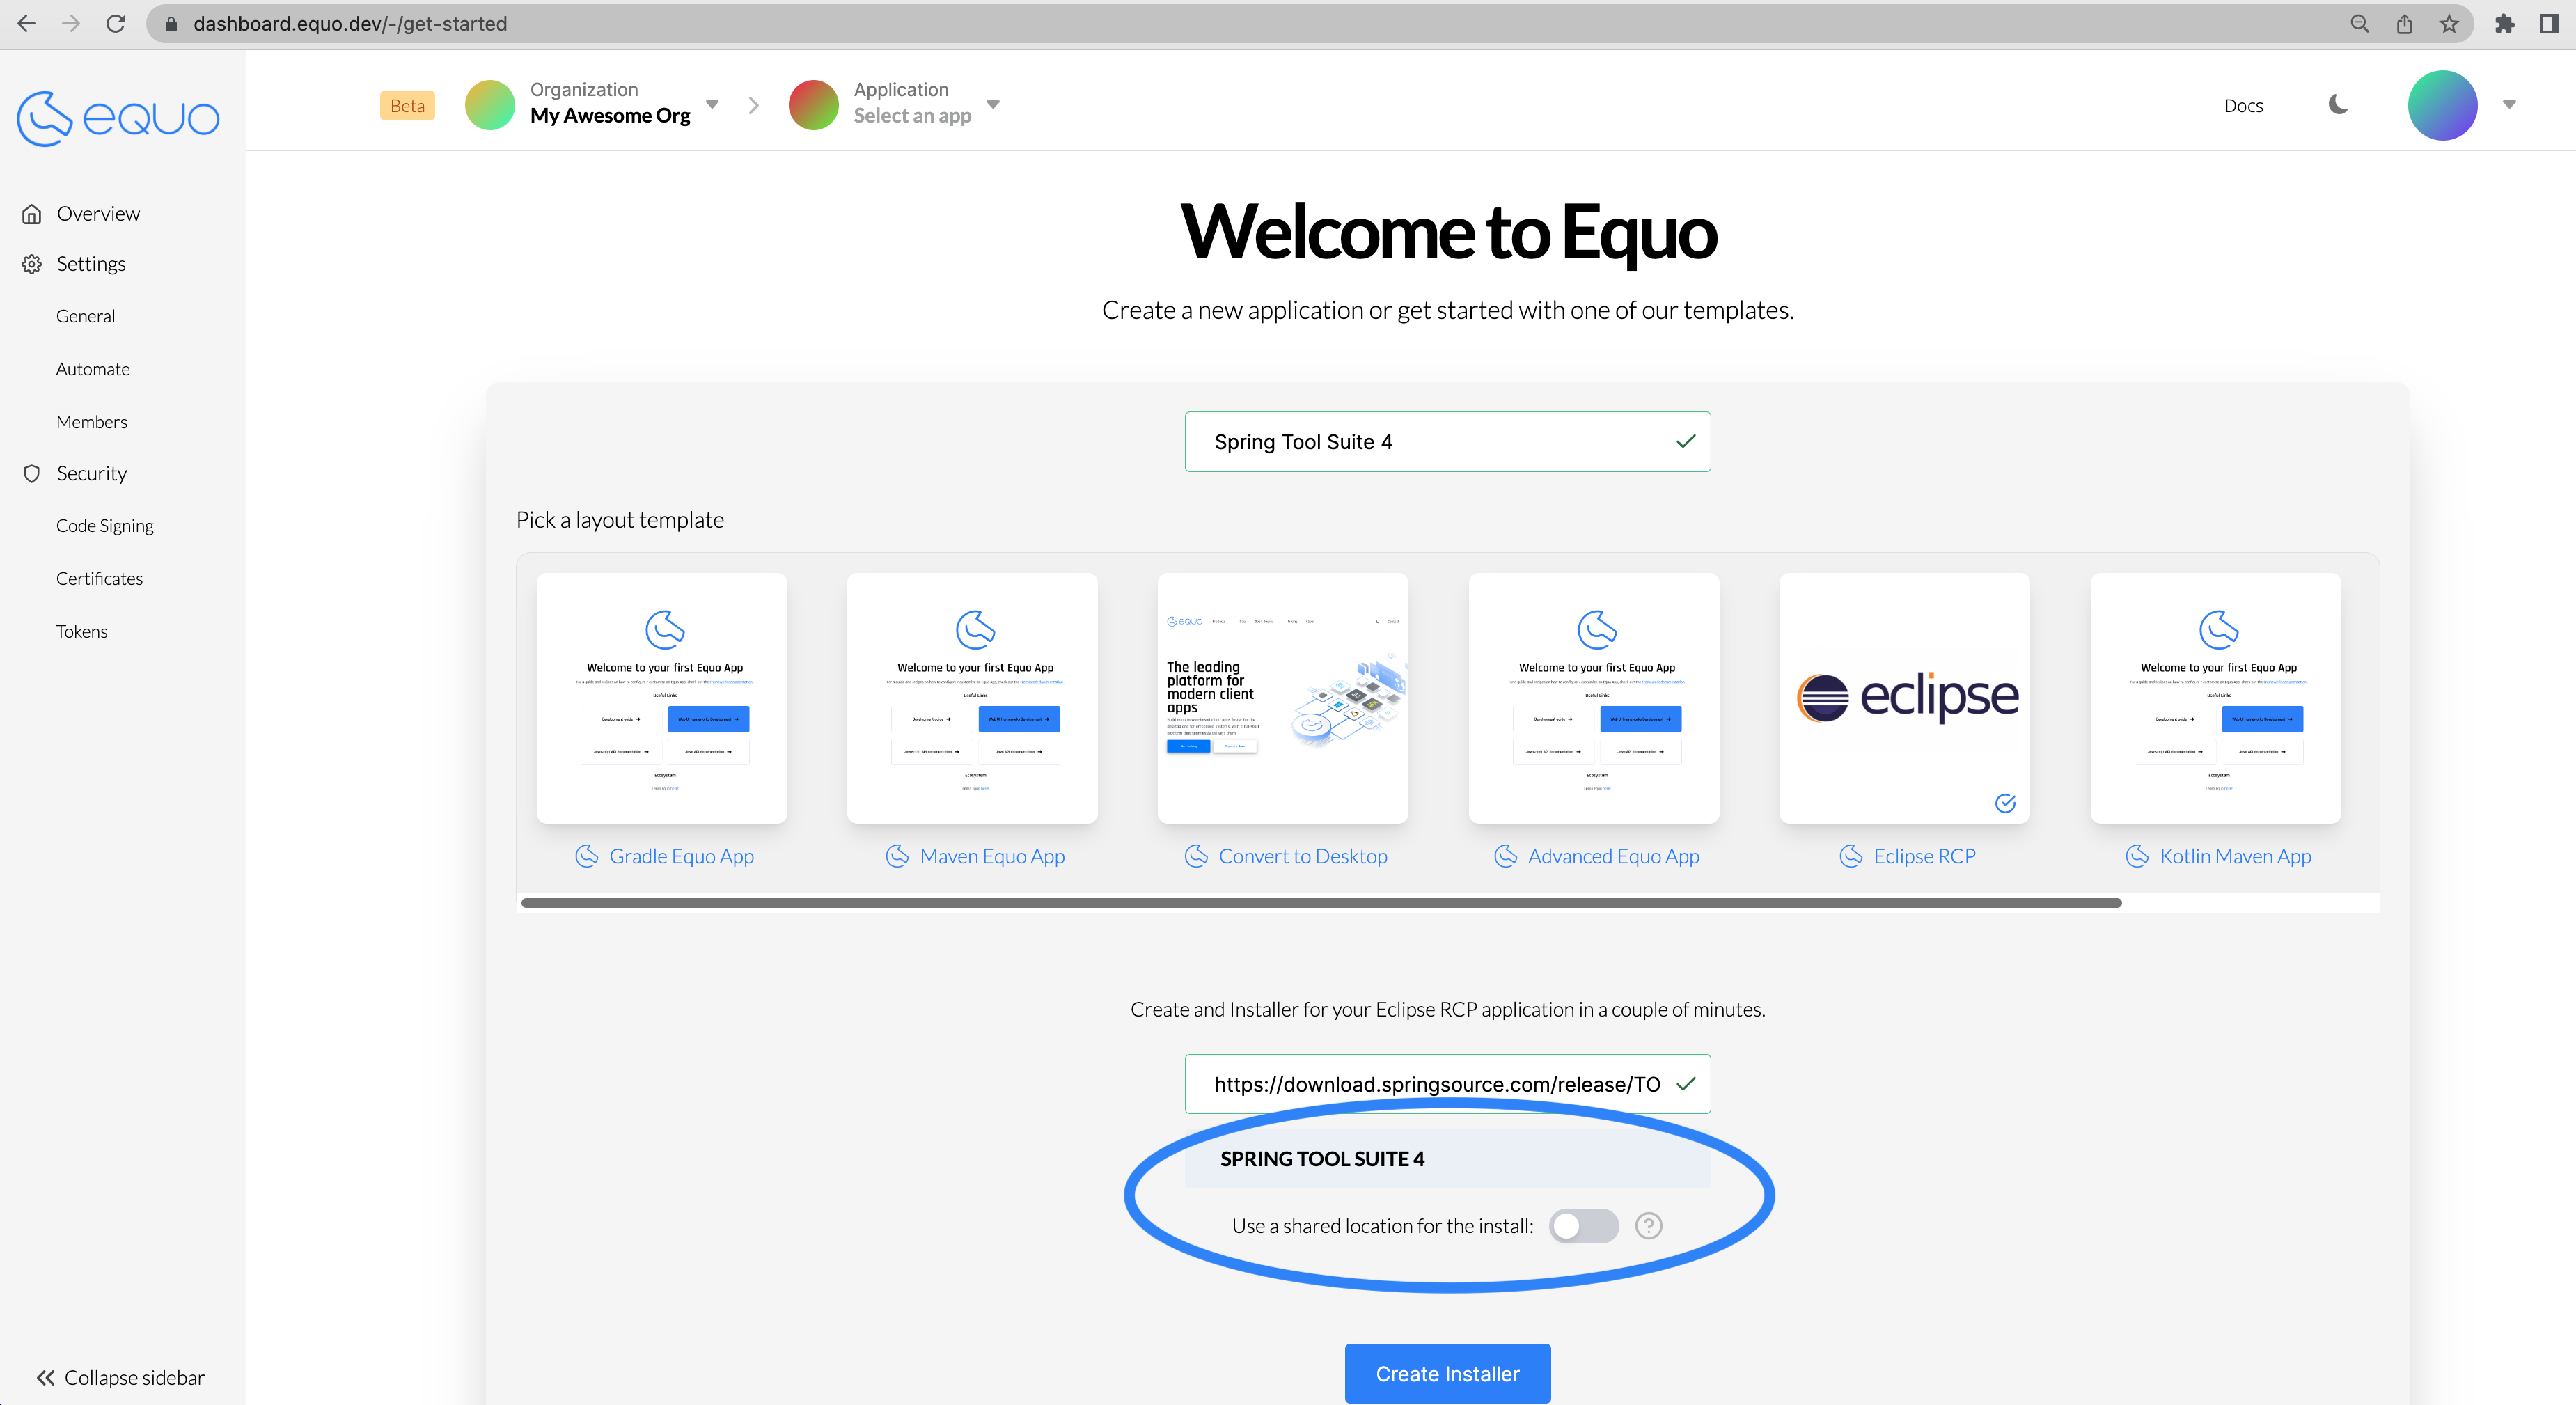
Step 4: Create the installers
We're almost done! Now you are ready to generate your installers. The process will trigger a build that will generate the cross-platform installers and the landing page for their distribution. Click the Create Installer button. Now it's time to sit back and relax. You did your part, let Equo take care of the rest. It'll take some minutes. The installer's build process will start. You can see the build progress in the Build section, as shown below:
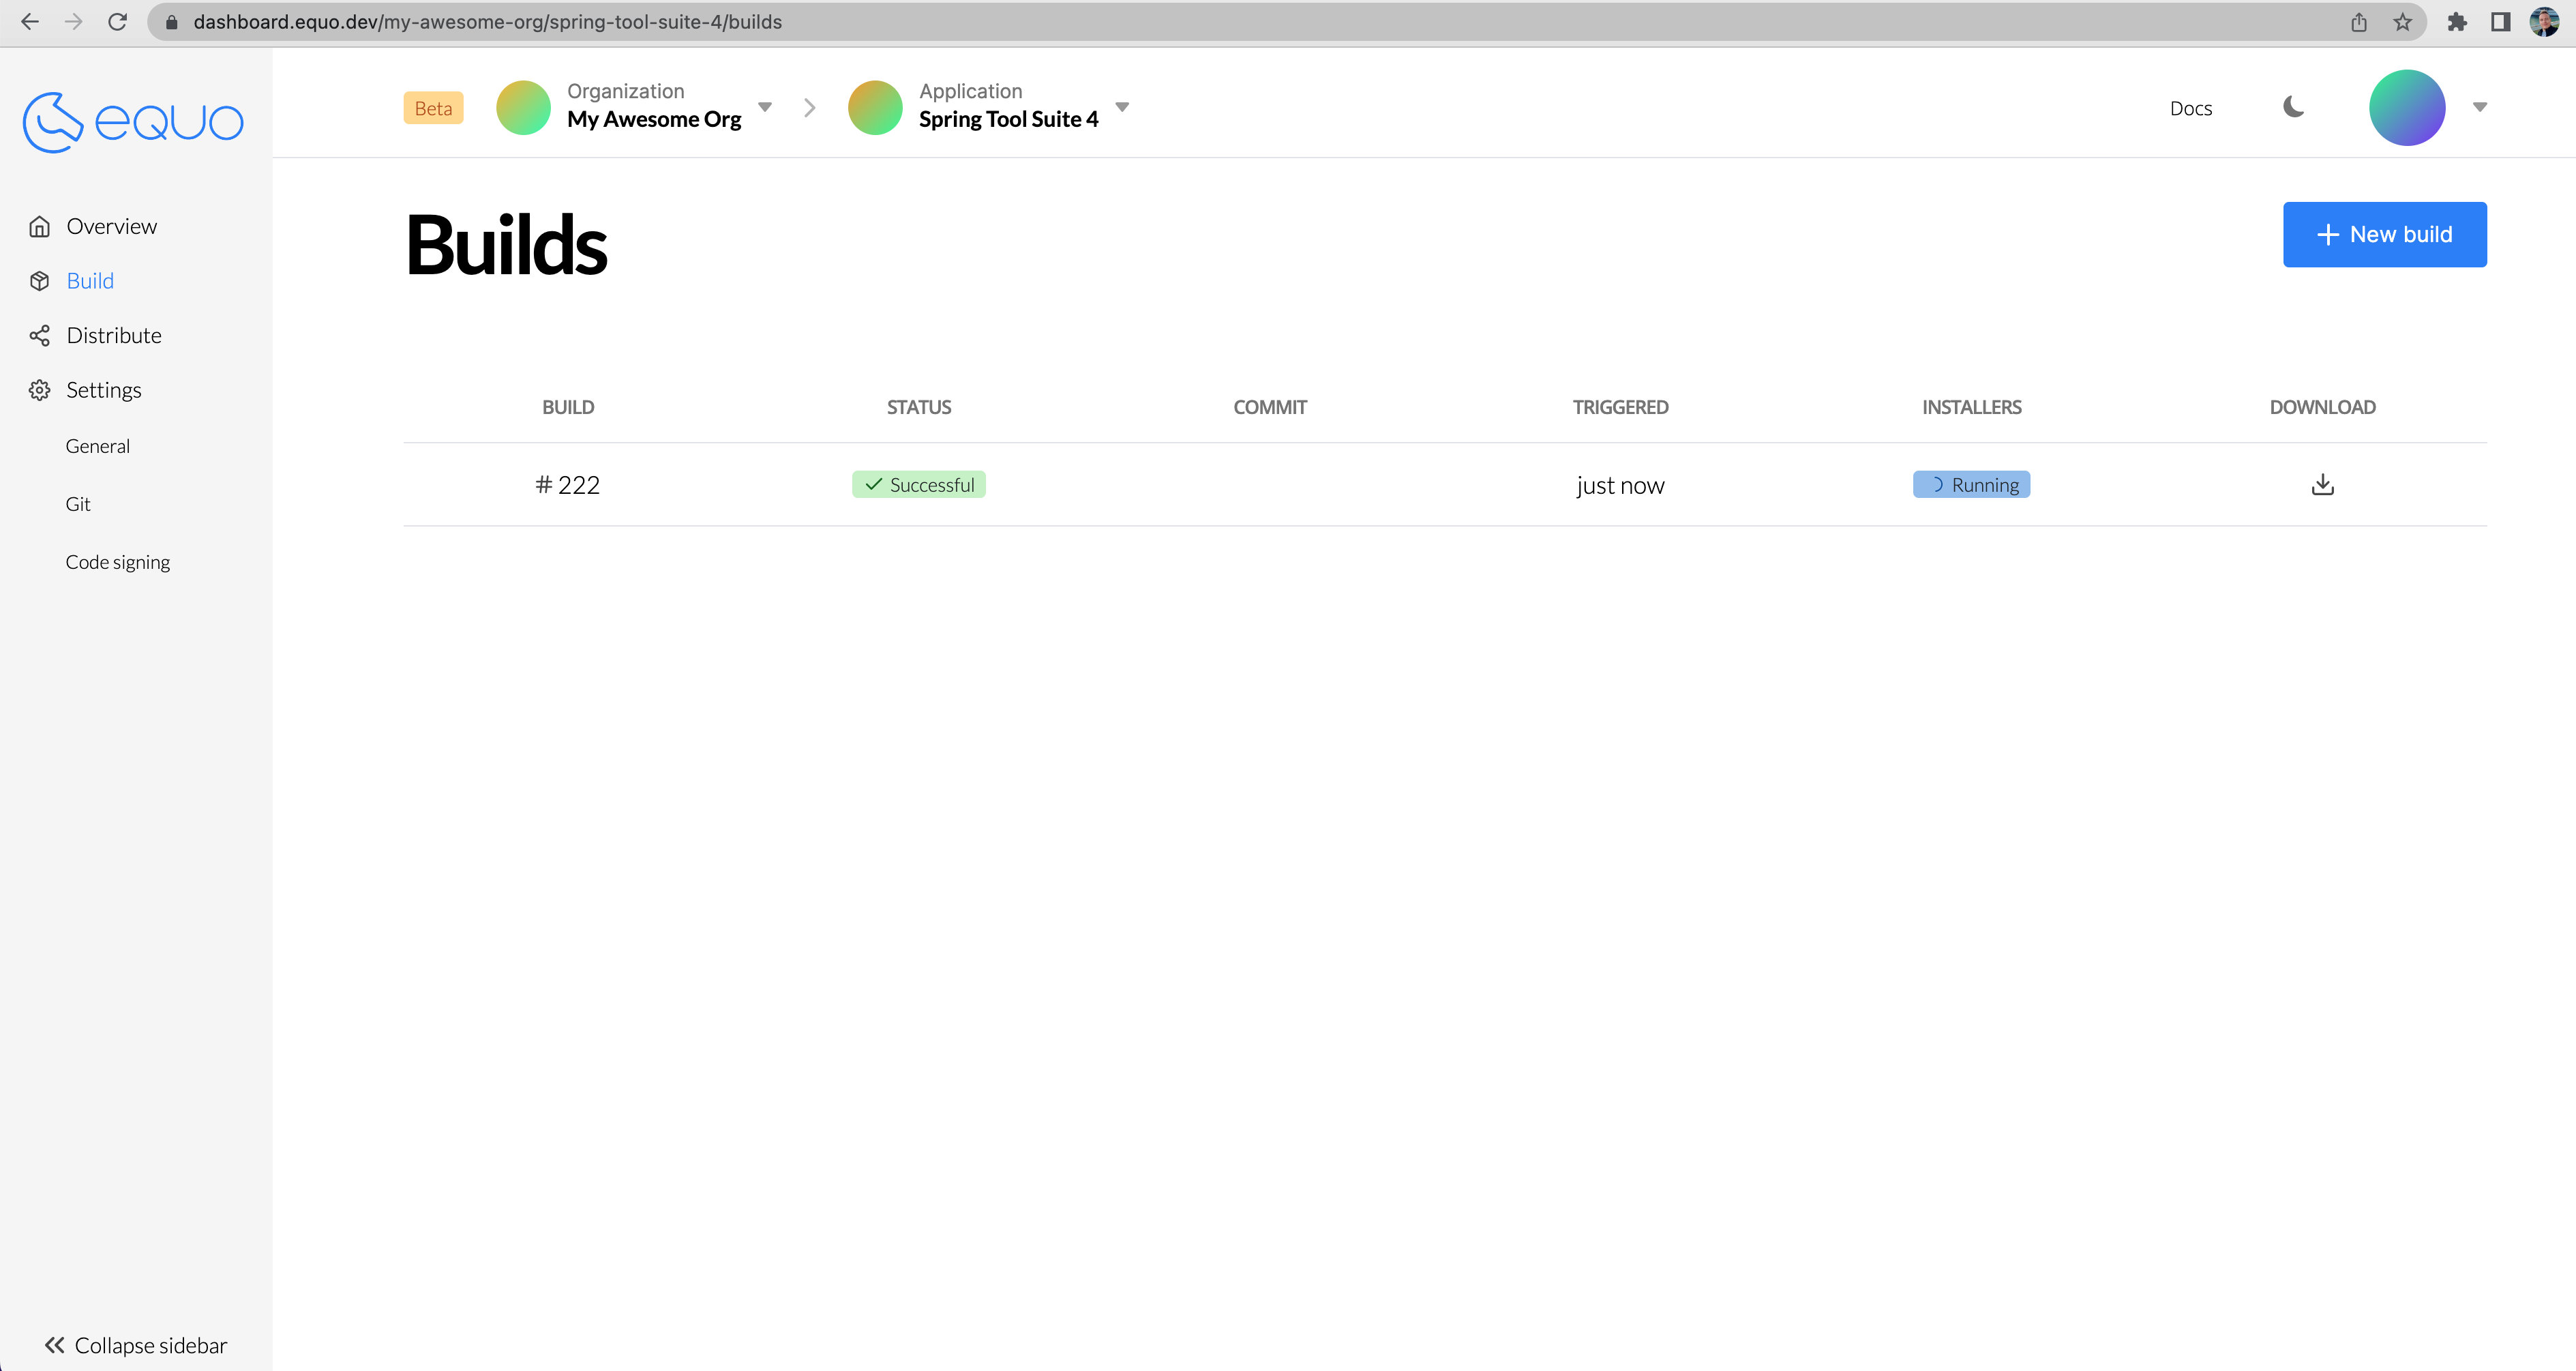
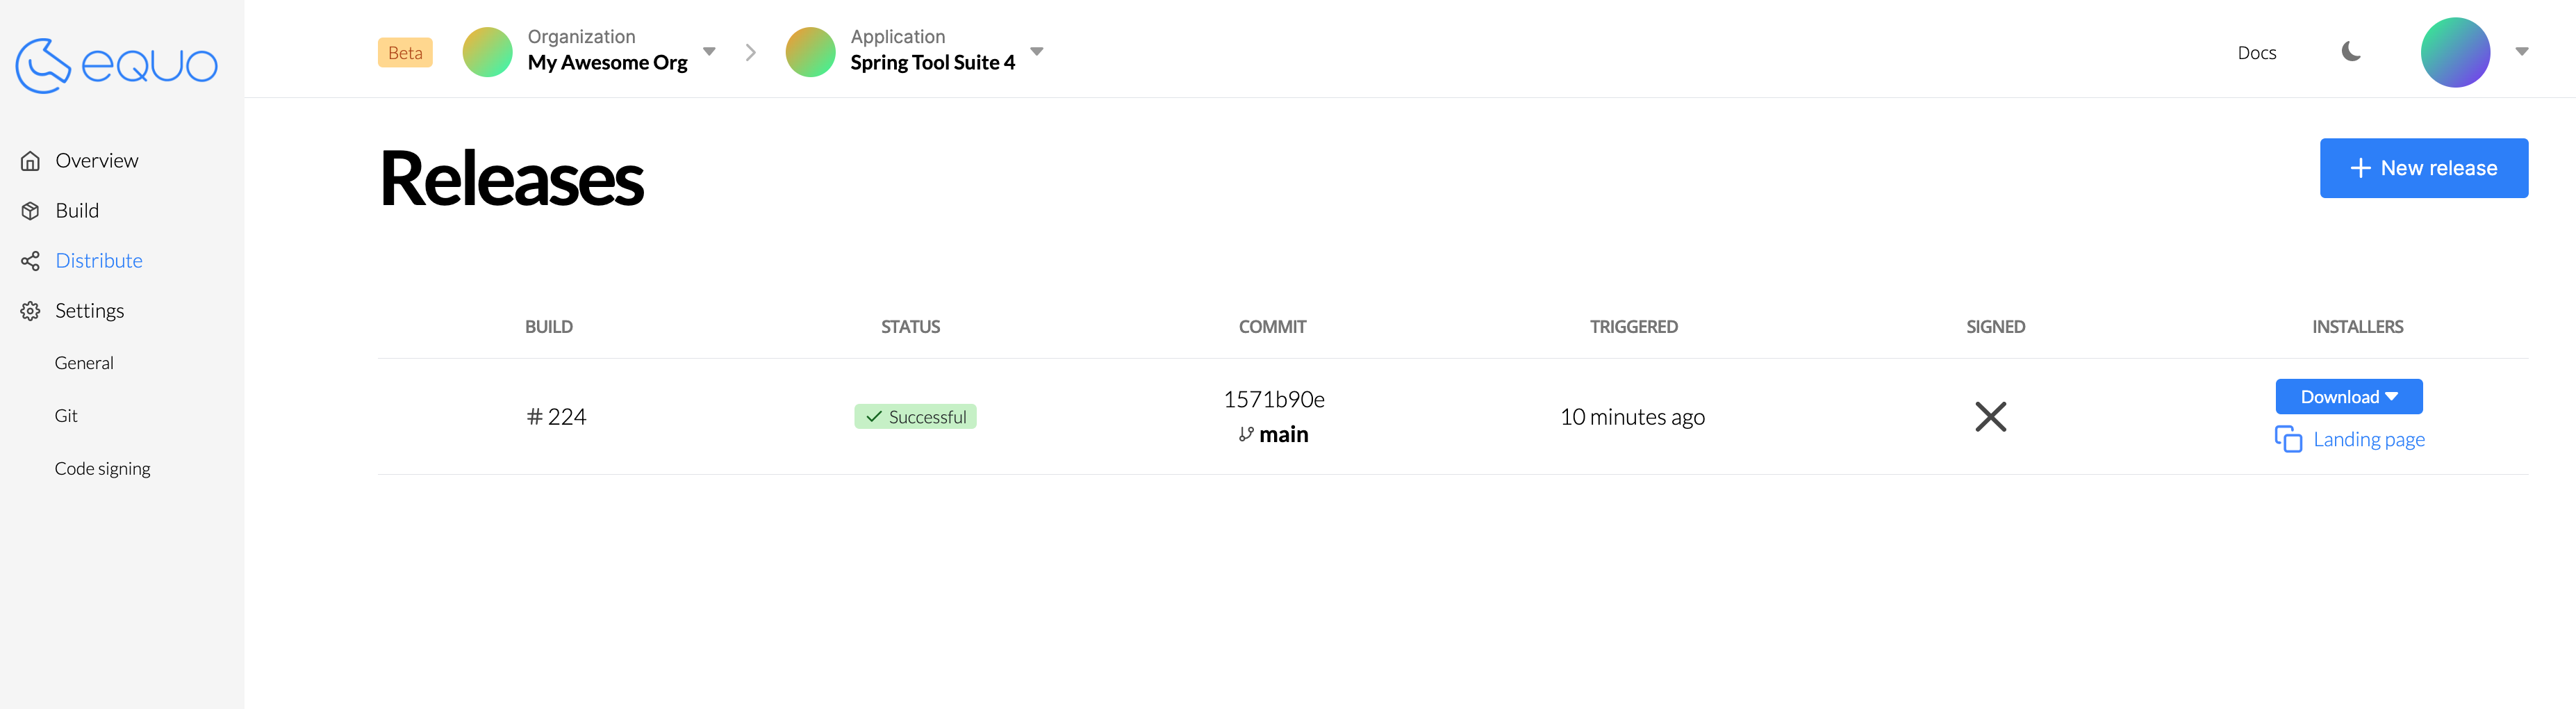
When the build finishes, the release process will start. Releases can be seen in the Distribute section.
Step 5: All done!
Once the release process finishes, you will be able to download the installers for Windows, macOS, and Linux, as well as access the auto-generated installers landing page, which you can distribute to your users. All of this is visible in the Distribute section.
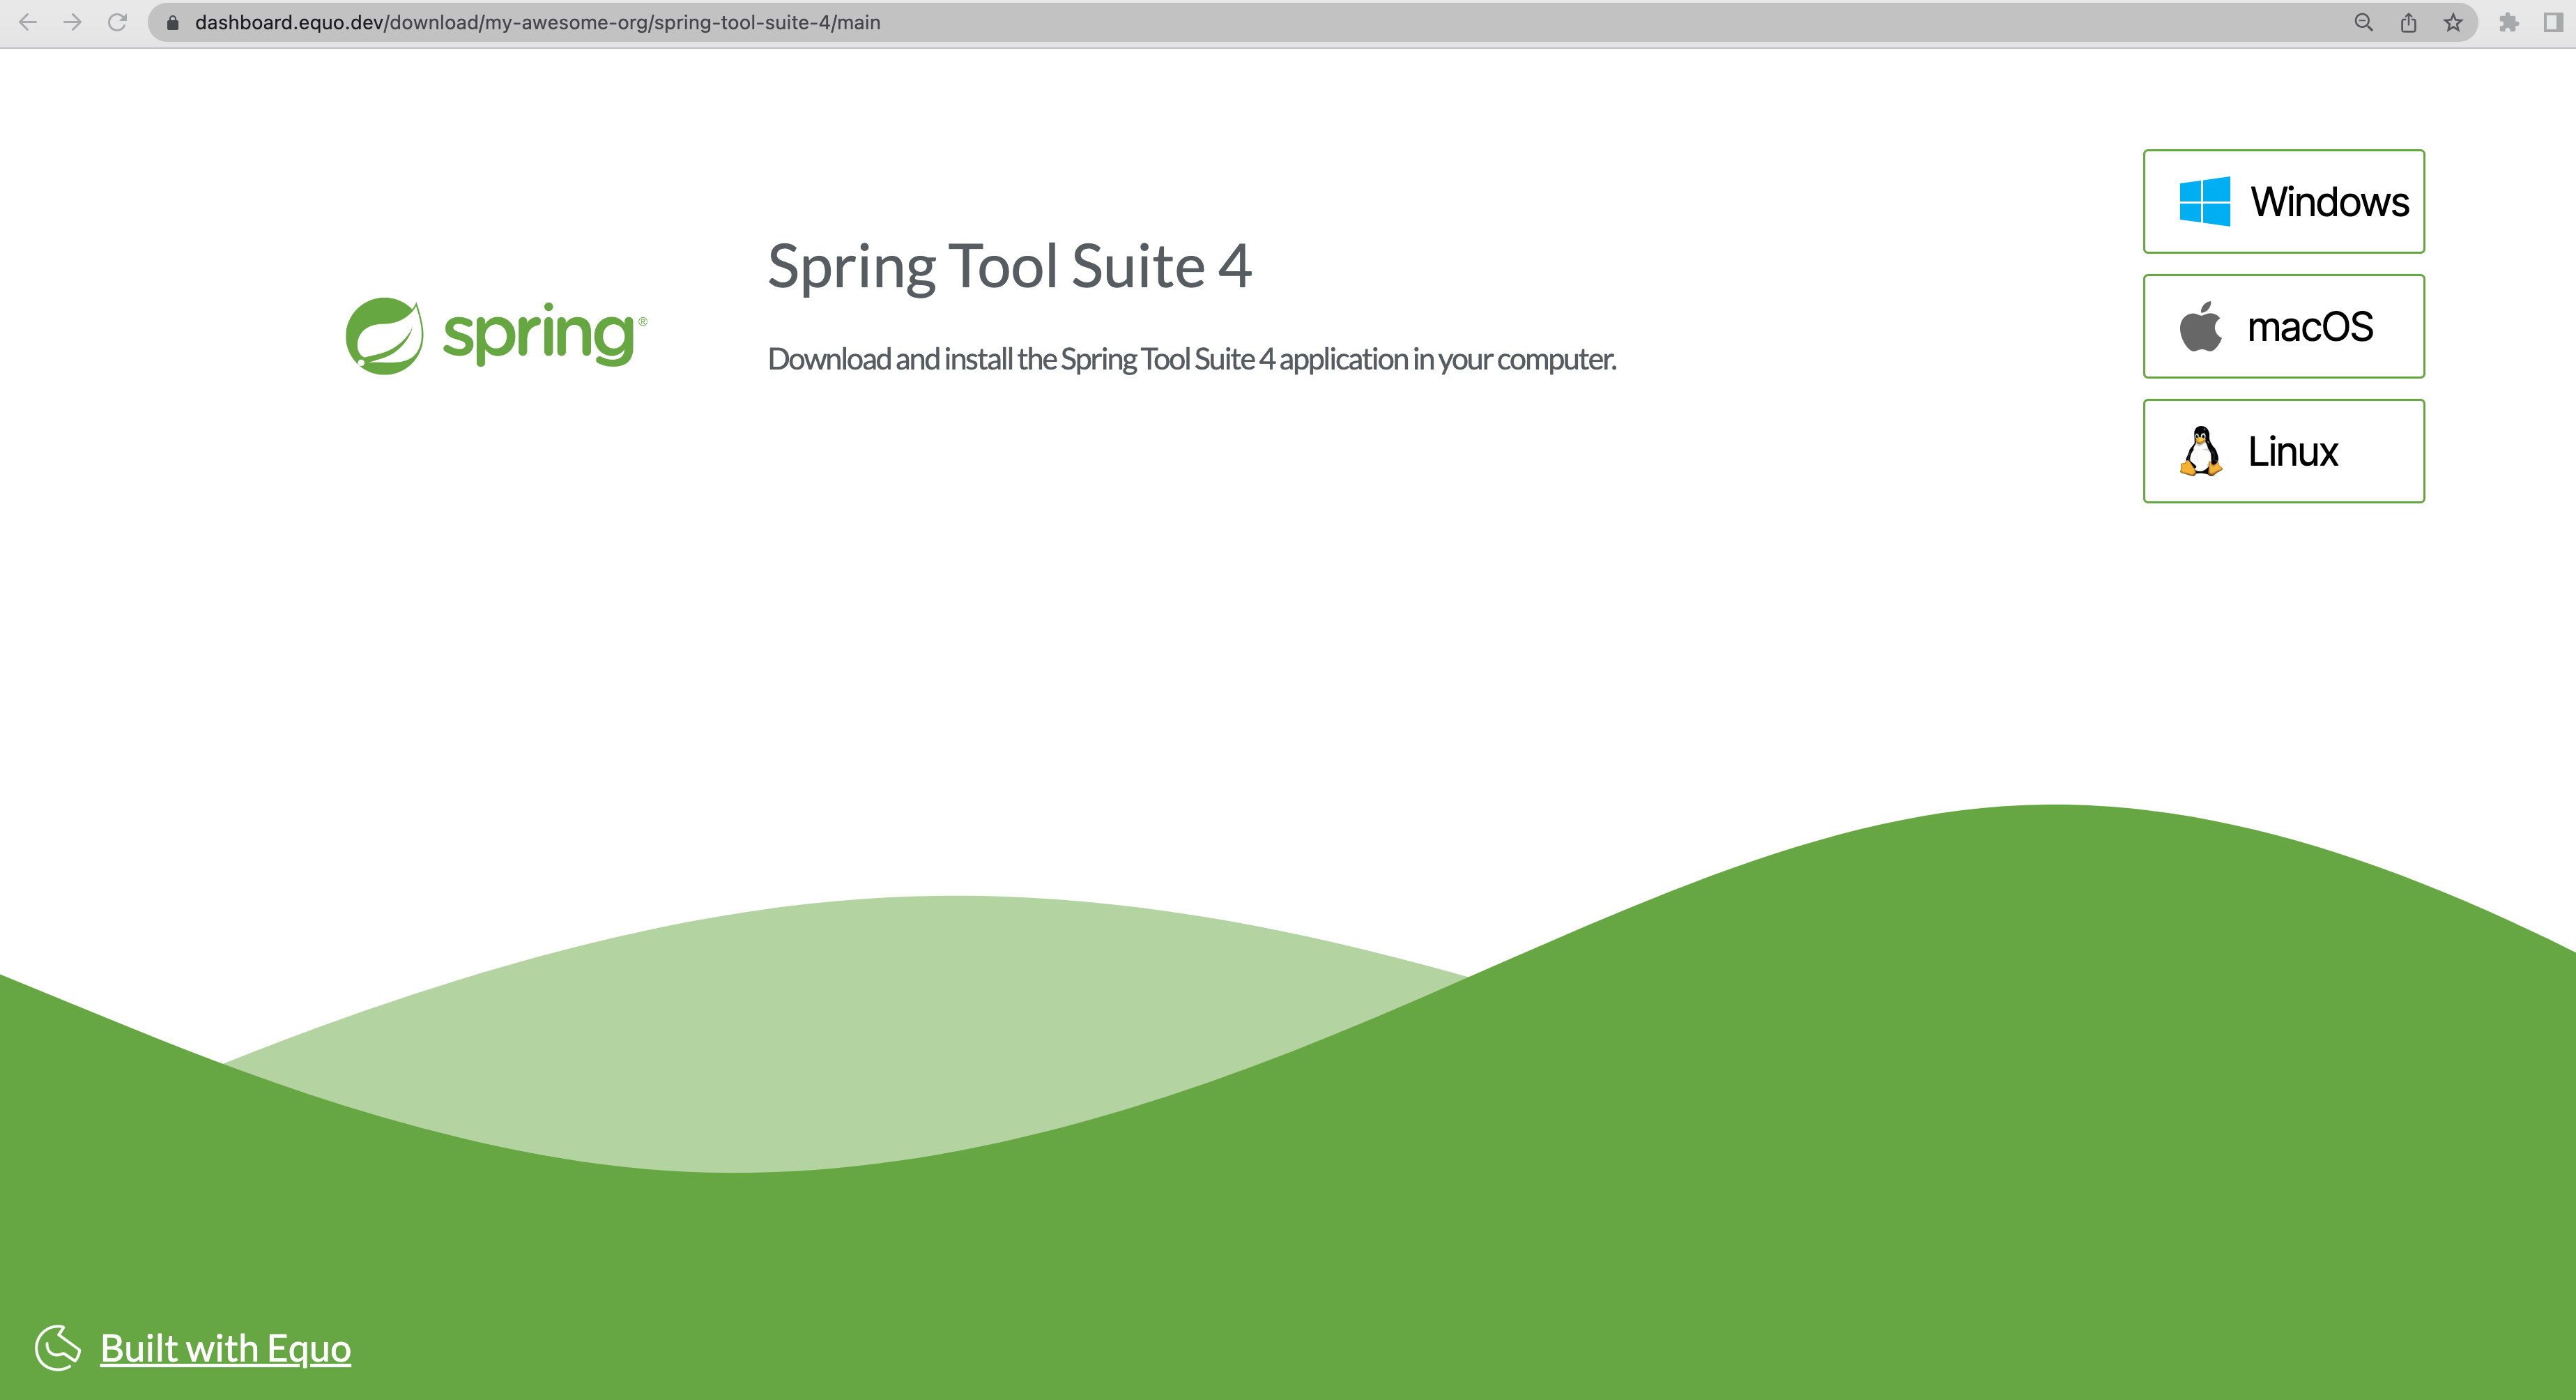
The following image shows the installers landing page for the Spring Tool Suite 4 installers, you can share that landing page with your users and they can download the installers directly from there:
Looks pretty good, huh? Wasn't that easy? To take it a step further, instead of starting from a P2 repository, you can generate cross-platform installers directly from your application Git repository.
Congratulations on generating your cross-platform installers, and thanks for using Equo!


