Using the Equo CLI
Faustino Hokama on June 30th 2021
In this article, you are going to learn step by step how to make your first Plain Equo Application using the CLI. A Plain Equo Application is just an app developed from scratch with the Equo SDK using Java and HTML5 technologies. If you want to know more about other application types, please check our docs.
Environment Setup
There are a few requirements for this tutorial before we start using the CLI:
Step 1: Download the Equo CLI
Download the Equo CLI . Make sure you select the correct platform. The command installs the Equo CLI in a folder already added to the PATH variable by default. Make sure the installation is succesful by running:
$
equo --version
The output should be:
❯ equo --version
equo version x.x.x
Step 2: Create a Plain Equo Application
Run in your terminal the following command:
$
equo create myfirstapp
This is going to create a basic skeleton. You can read more about the file structure to have a deeper understanding of an Equo Application.
Step 3: Run your First Equo Application
$
equo run myfirstapp
To clarify, you should use as argument the path to the root folder of your Equo Application (where the pom.xml is located). You will see how maven builds your project. If you get an error, make sure you have installed Maven and JDK correctly.
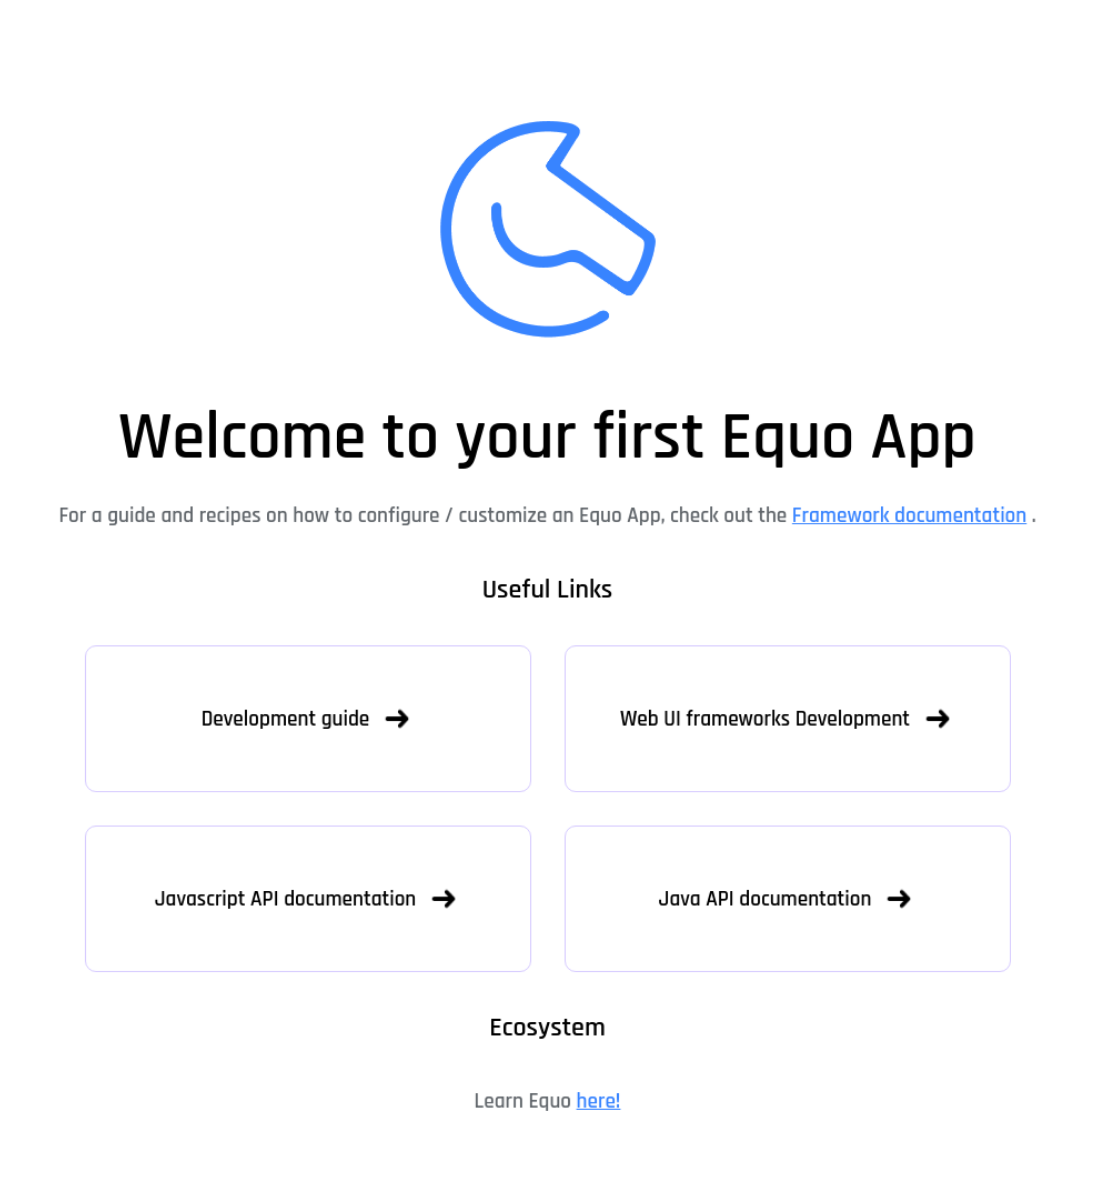
Finally, wait until the Equo App opens:

Congratulations! You've just run your first Equo Application! This is the HTML from src/main/resources/index.html.
What's next?
In this tutorial, we only saw a really small portion of what the Equo CLI can do. If you want to explore more by yourself, you can simply run in your terminal:
$
equo
You will see other possible commands. For example, you could use the wrap command to wrap an existing web application.
If you feel lost, remember to check the docs!


